Supabase
For restoring data into your Supabase project, only the public and auth schemas are supported. If you experience any issues with any of the paths, reach out to us on Discord (opens in a new tab).
Restoring to a Supabase local development stack
Supabase makes it easy to start a project with a dedicated PostgreSQL database. However, achieving a development environment populated with data closely resembling producation, still requires some set up. This guide will help you restore a snapshot of your production database into your local development stack.
1. Connect your source database (Production Database)
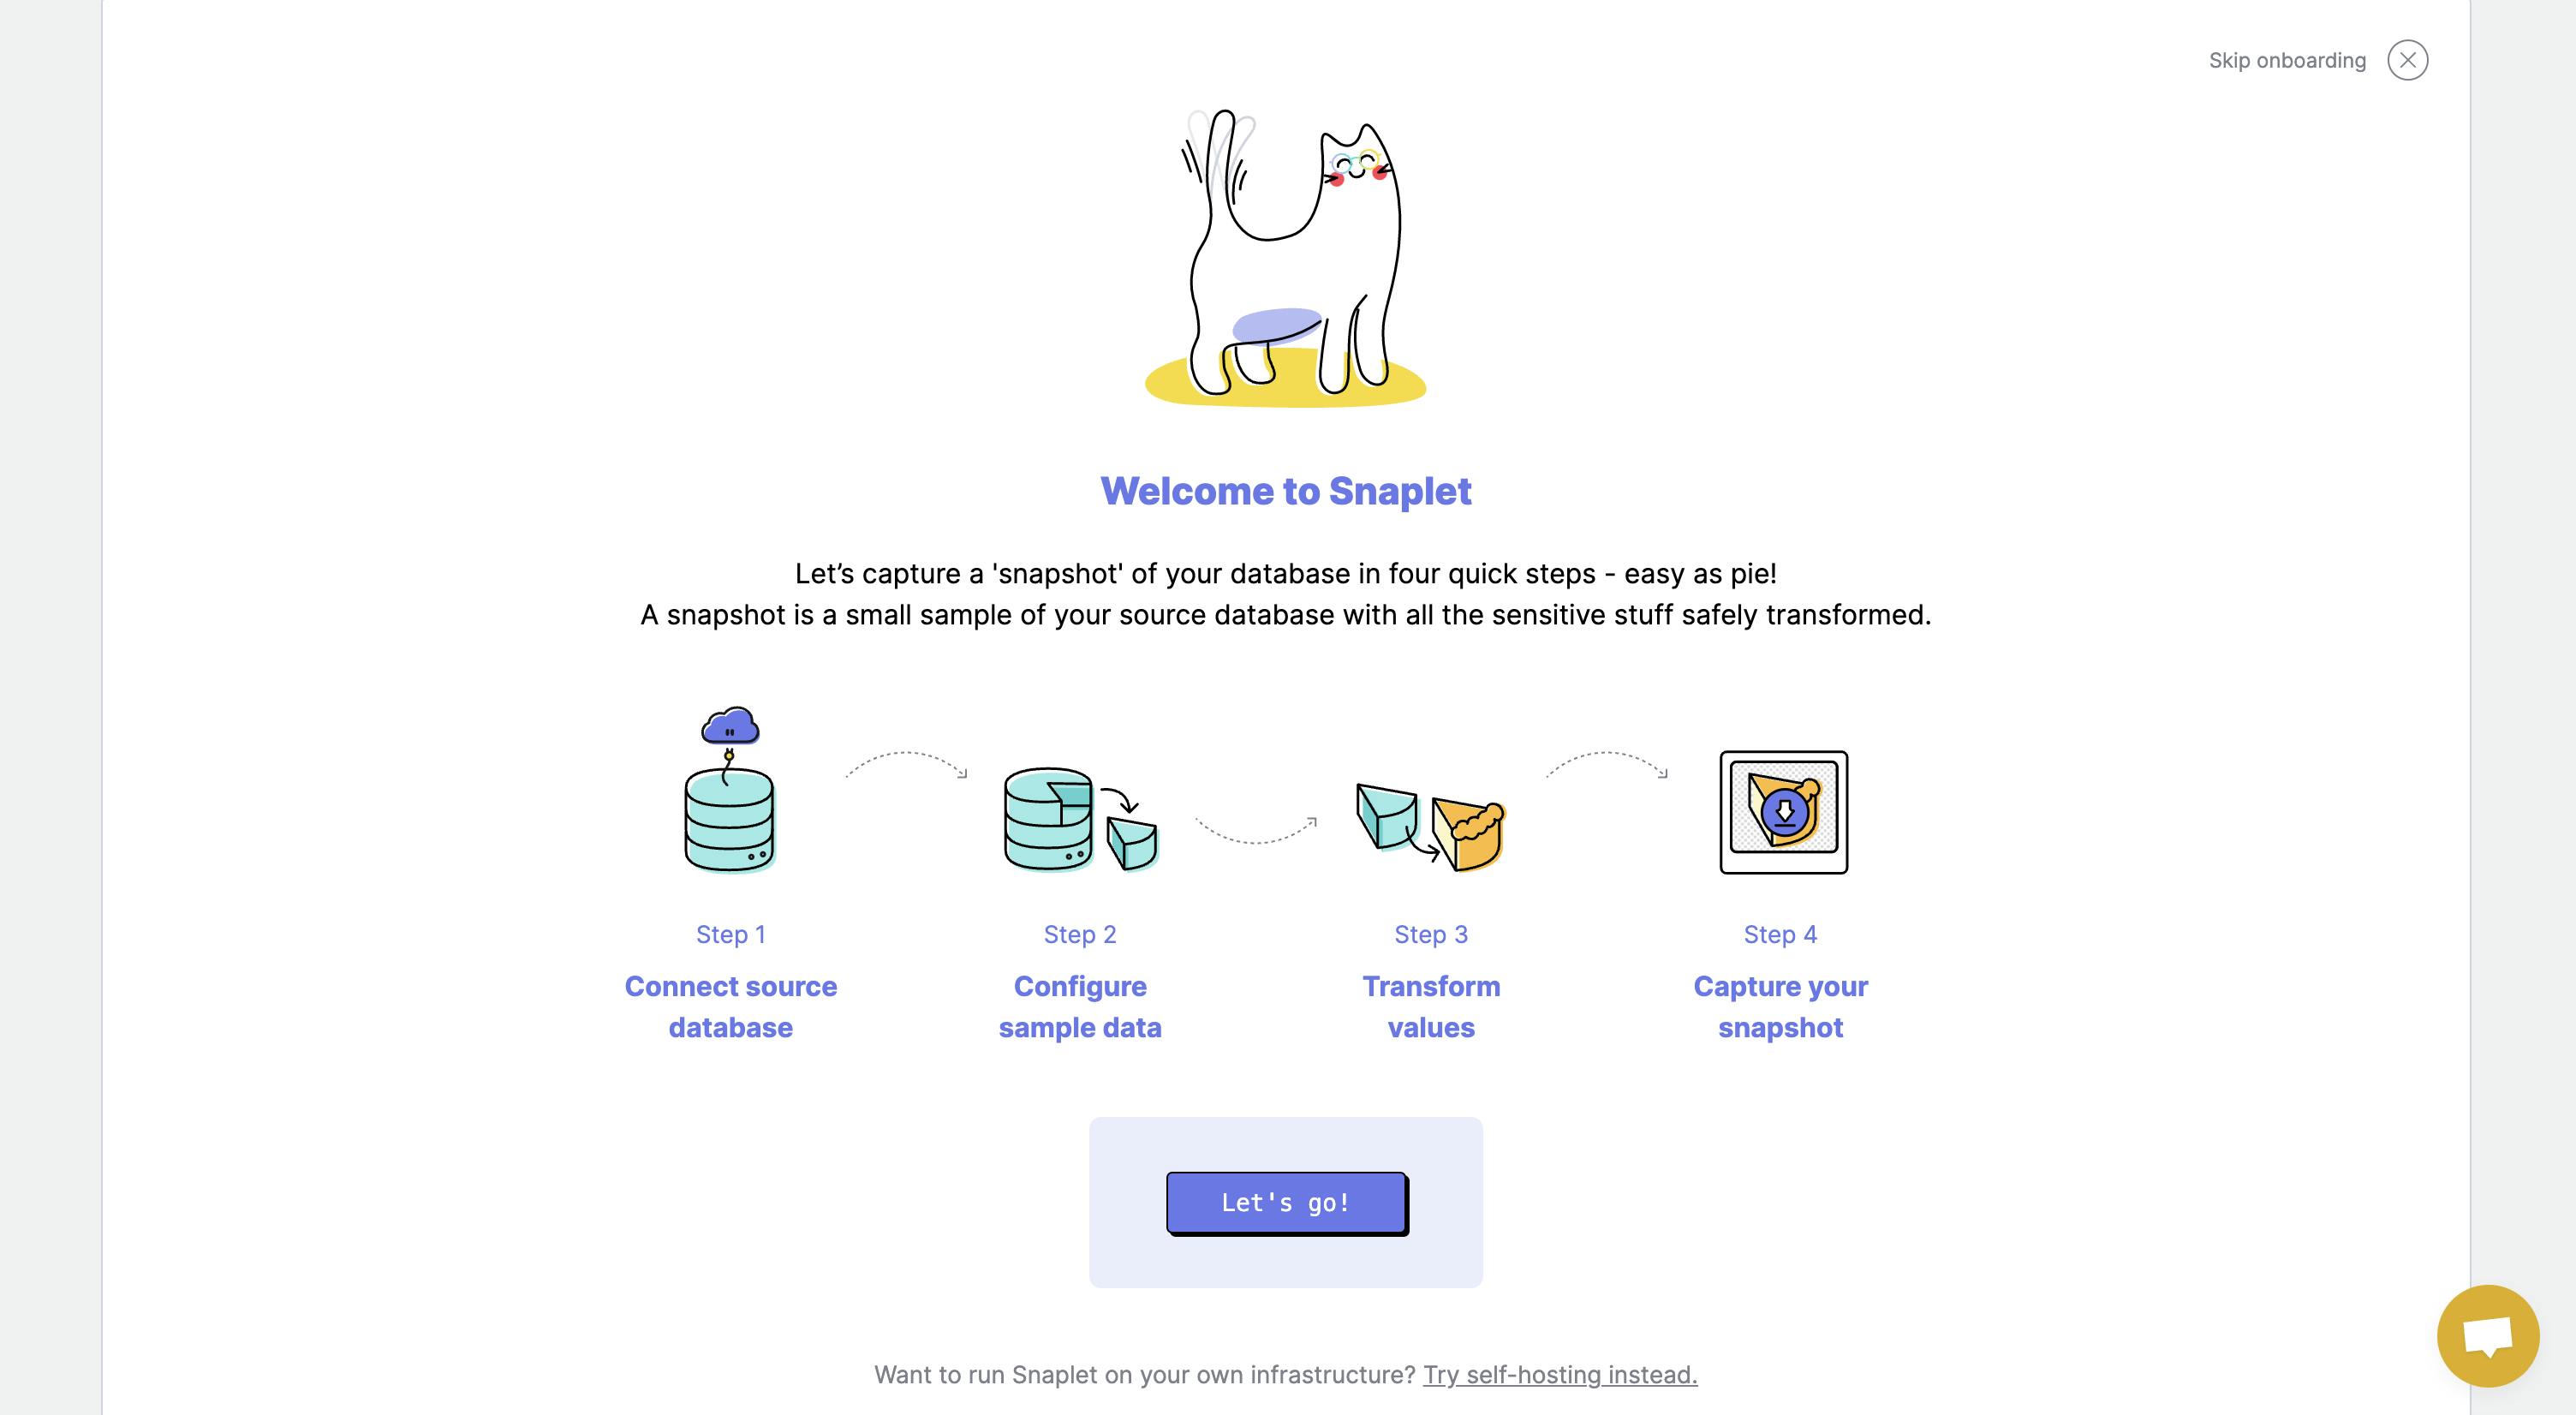
Navigate to https://www.snaplet.dev (opens in a new tab) and sign up for a new account (it's free). Once you have successfully signed up for a new account, you'll begin the onboarding process...

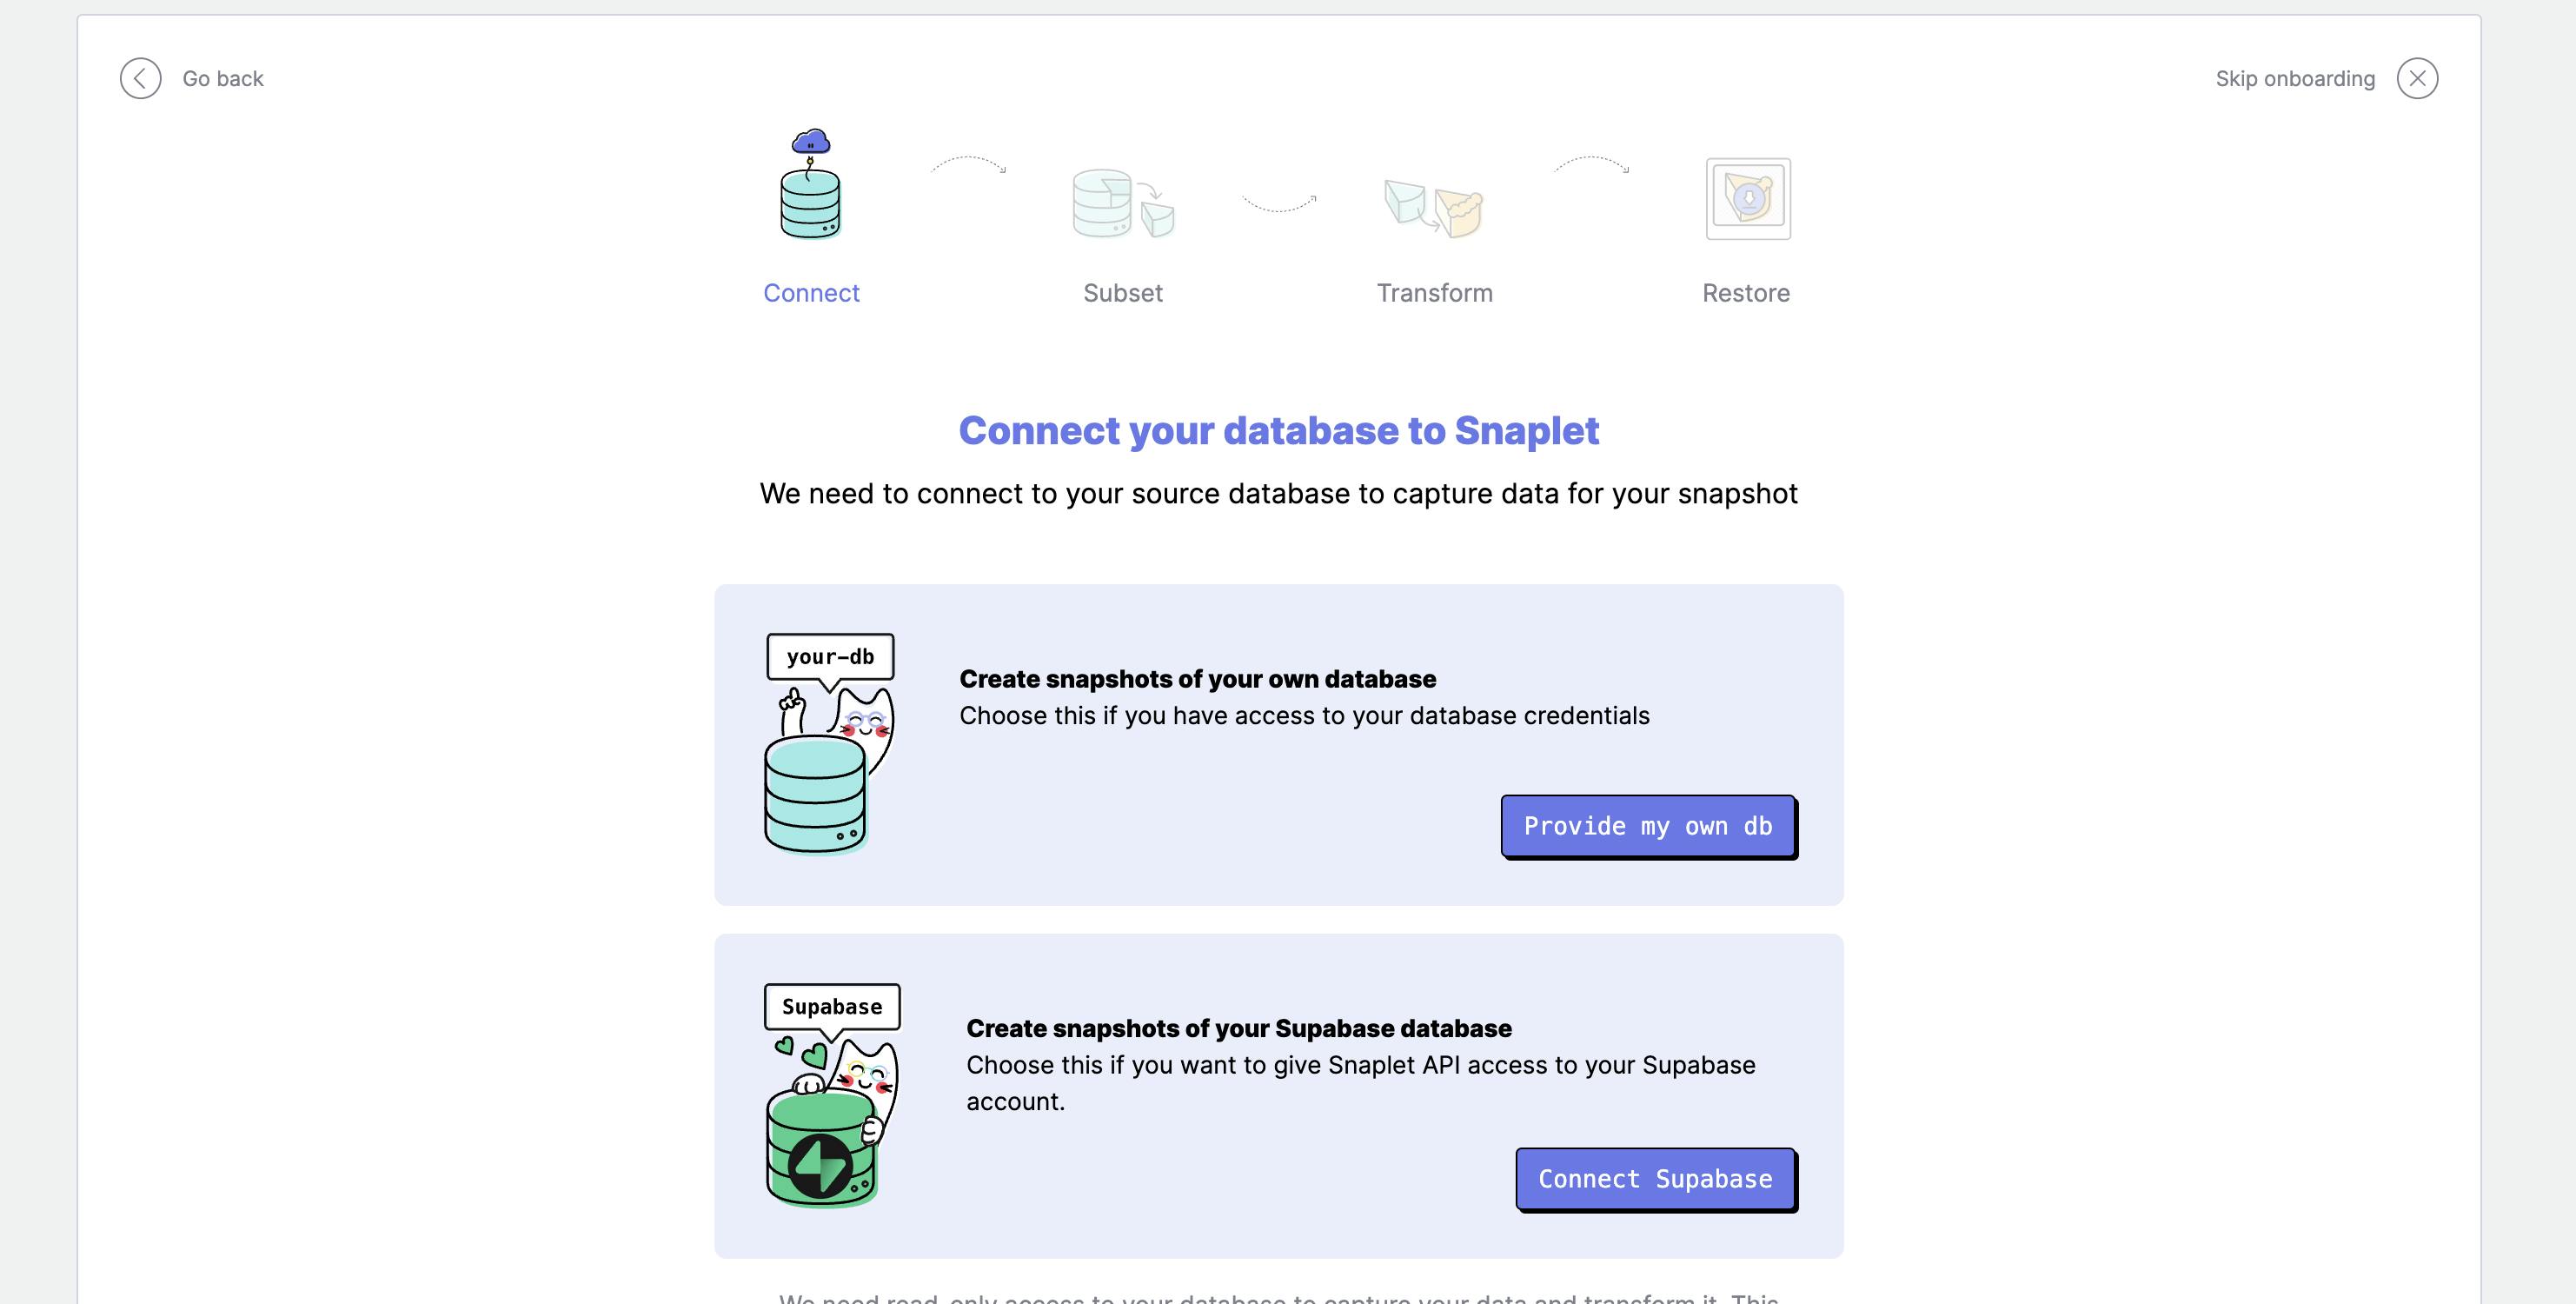
On the “Connect database” step click on "Connect Supabase" to connect your Supabase account to Snaplet. Proceed through all the steps of authorizing your Supabase organization, select a project and then enter the password associated to the project.

The snapshot configuration generated during onboarding will be set to only capture the
publicandauthschemas. Learn more below.
2: Create a snapshot
Continue to the next steps:
- Subsetting (skipping will create a snapshot with all your data).
- Transforming (skipping will leave all your table columns untouched).
Once you have gone through all these steps, a new snapshot process will start and you will now be on the “capture step.” Wait for it to finish - this is the snapshot you will restore into your target database.

3: Set up your Supabase local development stack
Below is a summary of commands you will have to run in your terminal to get Supabase set up on your local machine. For more detailed steps you can visit the Supabase docs here (opens in a new tab).
Running supabase start will output your Supabase credentials, copy the DB_URL field, as we will paste it in your snaplet.config.ts file (step 5).
4: Install the Snaplet CLI
- Open your terminal and run
curl -sL https://app.snaplet.dev/get-cli/ | bash - Run
snaplet auth login - Navigate to
https://app.snaplet.dev/access-token/clito get your access token. - Paste the access token in the terminal.
5: Config setup
-
Navigate to your project directory.
-
Set up your snaplet config.
6: Restore the data target
You are now ready to restore!
- Run
snaplet snapshot restorein your project path.
Note: for supabase projects we automatically include the
--no-resetflag when runningsnaplet snapshot restore. So no existing schemas will be dropped. Learn more about data operations here
All done!
If you want to learn more about Snaplet, you can explore our docs. If you have any questions, reach out to us on Discord (opens in a new tab).
That's it! You're all done, and should have restored a version of your Supabase production database with transformed data into your target database. You can now code against production-realistic data.
Troubleshooting
Excluding specific schemas from snapshots
Snaplet does not support restoring all the schemas in a Supabase instance. By default your config will be set to only capture the public and auth schemas.
You can manually include other schemas, but this is not a supported use case for this integration.
Schemas such as
storageandsupabase_functionsschemas are excluded, because Snaplet is unable to also the clone the infrastructure required to support these schemas.
Your snapshot config should look something like this:
During onboarding, this select option is automatically added to your config. In the web editor you will be shown a warning, if you choose to remove the $default field.
Reset supabase database
Use the supabase db reset command to reset the state of your Supabase project.
This is useful for cases a snapshot breaks your project, or you want to start from a clean slate.

